本文将介绍如何在Windows 11/10上使用GarageBand。GarageBand是一款功能强大的软件应用,可让用户轻松创建音乐、播客和其他音频内容。虽然GarageBand最初是由苹果公司开发,仅适用于MacOS和iOS设备,但用户也可以通过一些替代方法在Windows操作系统上使用它。有一些第三方软件和工具可以帮助用户在Windows上模拟GarageBand的功能,例如使用类似GarageBand的数字音频工作站软件或虚拟机来运行MacOS。 一种常见的方法是使用类似GarageBand的数字音频工作站软件,如FL Studio、Cakewalk或Ableton Live。这些软件提供类似GarageBand的音频编辑和创作工具,
GarageBand具备丰富的功能和工具,使其成为音乐制作的首选。其内置的虚拟乐器、预设循环、强大的支持网络以及与苹果生态系统的紧密整合,进一步提升了它在音乐人、播客和其他音频专业人士中的受欢迎程度。
目前尚无正式适用于Windows的GarageBand版本,但如果您希望在Windows PC上使用GarageBand,有一种方法可供尝试。您可以通过设置虚拟机在Windows PC上运行MacOS作为客户操作系统,并在虚拟环境中使用GarageBand。这样,您可以模拟Mac环境来体验GarageBand的功能,尽管这种方法可能会涉及一些技术挑战和配置调整。虚拟机技术使您能够在不同操作系统之间切换,为Windows用户提供了一种尝试GarageBand的替代途径。请注意,运行虚拟机可能会对计算机性能产生一定影响,因此建议确保系统有足够的资源来支持该操作。
要在Windows 11/10 PC上使用GarageBand,您需要执行以下步骤:
让我们详细地看看这一点。
为了在虚拟机上安装macOS,您需要获取一个macOS安装映像,也就是macOS ISO文件。您可以通过从现有的macOS安装中创建ISO文件或从Mac App Store下载ISO文件来获得。请务必确保您获取ISO文件的来源是合法授权的。
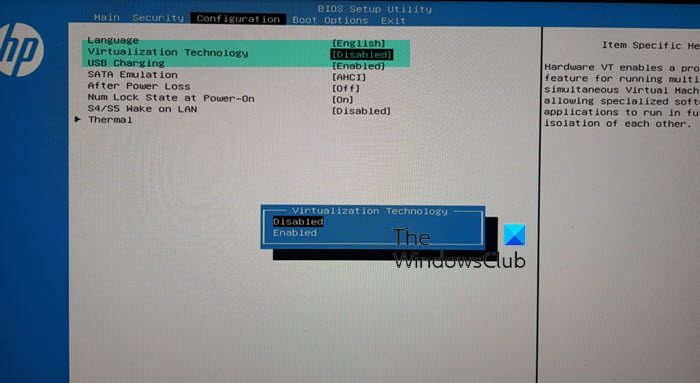
接下来,您需要在Windows PC上启用虚拟化。要使虚拟机正常高效地运行,启用虚拟化至关重要。
要启用虚拟化,请重新启动计算机并输入BIOS或UEFI设置。然后导航到系统配置/高级设置部分。选择与虚拟化技术、Intel VT-X(适用于Intel处理器)或AMD-V(适用于AMD处理器)相关的选项。按Enter键,选择“已启用”,然后再次按Enter键。保存更改并退出BIOS或UEFI设置。
在此之后,您的计算机将重新启动。一旦重新启动,就应该启用虚拟化,您可以继续在您的Windows 11/10 PC上使用该虚拟化软件。
虚拟化软件或管理程序是一种应用程序,允许您在单个物理硬件平台上创建和运行多个操作系统的虚拟实例,通常称为虚拟机(VM)。有几种可用的虚拟化软件,包括VMware Workstation和VirtualBox。你可以使用VirtualBox在你的电脑系统上安装MacOS和Windows。
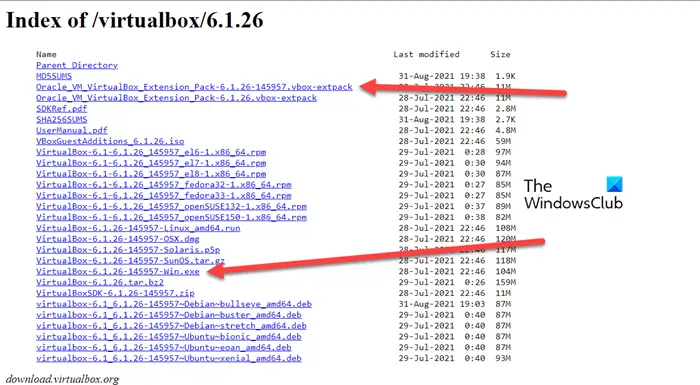
要安装VirtualBox,请访问此链接并下载以下文件:
现在转到您的下载文件夹并双击安装程序文件(VirtualBox-6.1.26-145957-Win.exe)。安装程序将运行。按照屏幕上的说明安装VirtualBox,然后再安装扩展包。

接下来,您可以使用VirtualBox在您的Windows PC上安装MacOS。
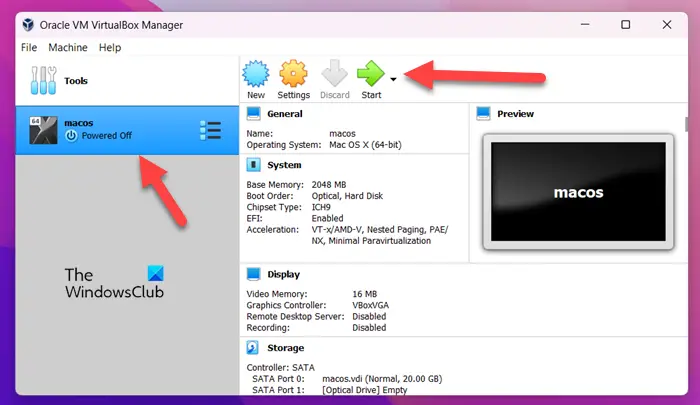
打开VirtualBox并单击New按钮以创建新的虚拟机。在出现的窗口中输入操作系统和硬盘文件类型的详细信息。接下来,您需要配置虚拟机设置,包括RAM大小、CPU核心数量、存储分配等。
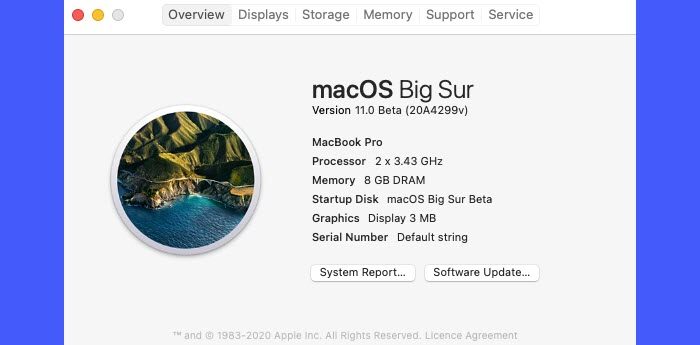
之后,将创建安装MacOS的环境。选择您在VirtualBox中创建的MacOS VM,然后单击Start按钮。
然后按照屏幕上的说明格式化虚拟磁盘,选择MacOS安装映像(您已在步骤1中获得),并等待安装过程完成。
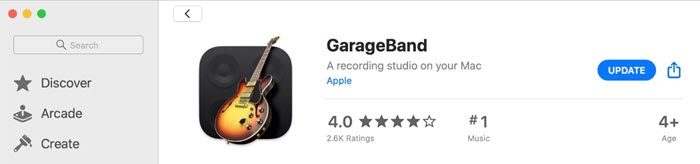
现在,您的PC上已经运行了MacOS,您可以从Mac应用商店下载并安装GarageBand,就像在真正的Mac上一样。
打开Mac应用商店,在右上角的搜索栏中输入‘GarageBand’。在搜索结果中单击GarageBand图标或其名称。点击GarageBand图标旁边的Get按钮开始安装过程。
下载并安装后,您可以在虚拟机中启动GarageBand并开始创作音乐!
请注意,GarageBand是一个资源密集型应用程序。当你在Windows 11/10电脑上使用它时,它的性能可能并不是最好的。或者,你也可以尝试Windows版的免费音乐创作软件,该软件提供与GarageBand类似的功能,或者浏览Microsoft Store上提供的音乐创作应用程序。
阅读:如何在Windows上使用音乐制作幻灯片。
GarageBand is not available for Windows PCs. It is developed by Apple Inc. exclusively for macOS and iOS devices. There isn’t a legitimate way to install and use GarageBand on Windows, but several free GarageBand alternatives offer similar features and functionality for music creation. Audacity and Cakewalk are a few popular options.
以上就是如何在Windows 11/10上使用GarageBand的详细内容,更多请关注php中文网其它相关文章!

每个人都需要一台速度更快、更稳定的 PC。随着时间的推移,垃圾文件、旧注册表数据和不必要的后台进程会占用资源并降低性能。幸运的是,许多工具可以让 Windows 保持平稳运行。

Copyright 2014-2025 https://www.php.cn/ All Rights Reserved | php.cn | 湘ICP备2023035733号


 322
322