
import cv2
import numpy as np
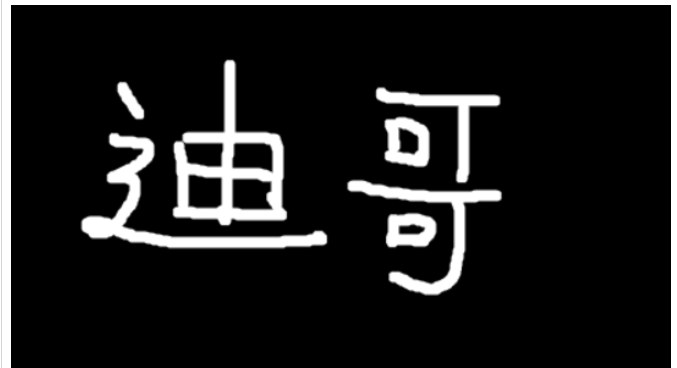
img = cv2.imread('DataPreprocessing/img/dige.png')
cv2.imshow("img", img)
cv2.waitKey(0)
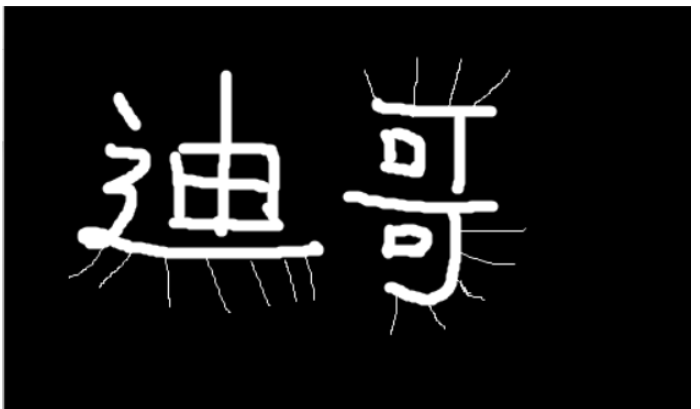
cv2.destroyAllWindows()dige.png原图1展示(注: 没有原图的可以截图下来保存本地。
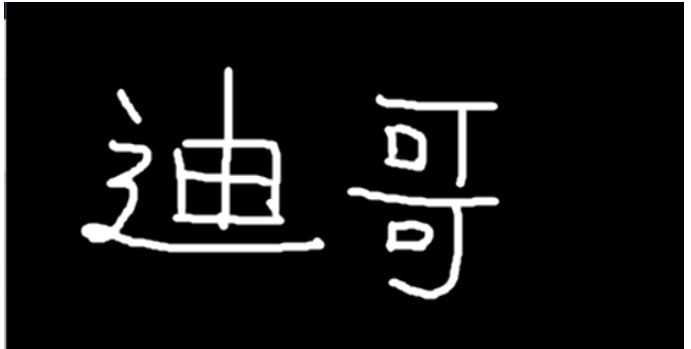
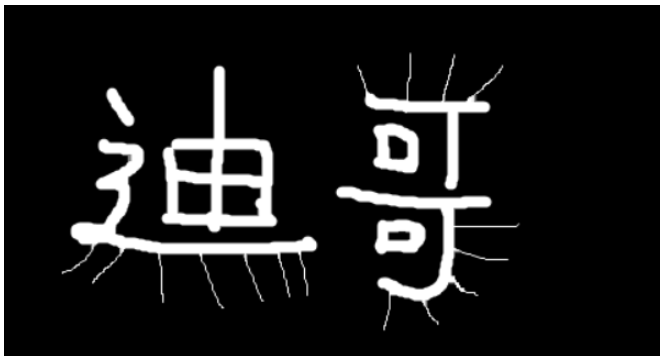
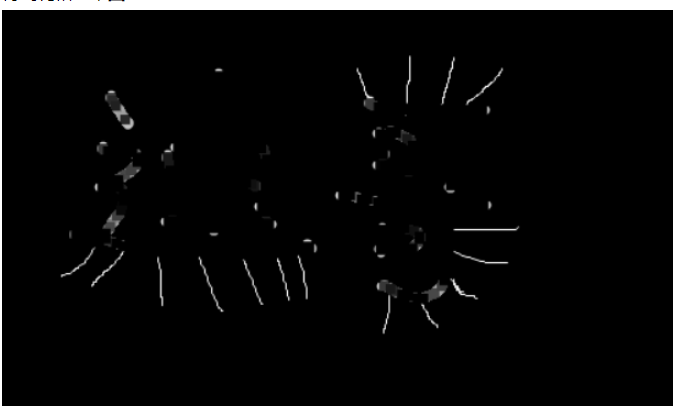
腐蚀1轮次之后~ (iterations = 1)
kernel = np.ones((3, 3), np.uint8)
erosion = cv2.erode(img, kernel, iterations=1)

cv2.imshow('erosion', erosion)
cv2.waitKey(0)
cv2.destroyAllWindows()腐蚀结果展示图2:
立即学习“Python免费学习笔记(深入)”;
腐蚀圆多次的效果,以及腐蚀原理
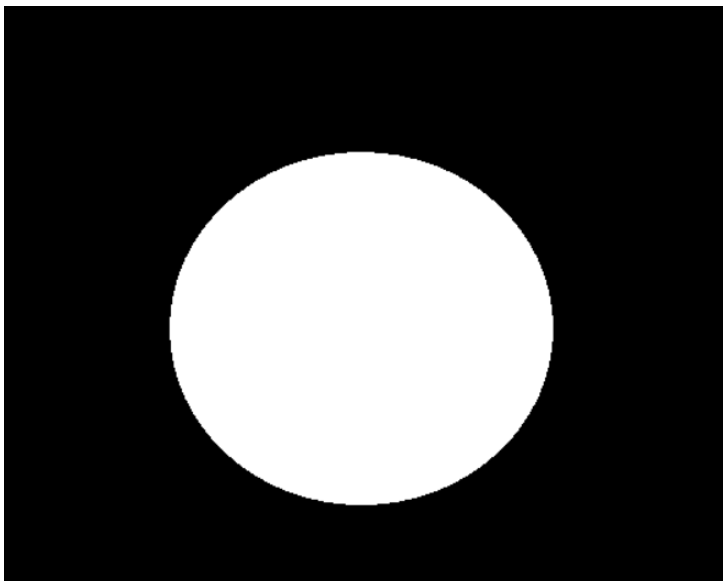
pie = cv2.imread('DataPreprocessing/img/pie.png')

cv2.imshow('pie', pie)
cv2.waitKey(0)
cv2.destroyAllWindows()pie.png原图3:
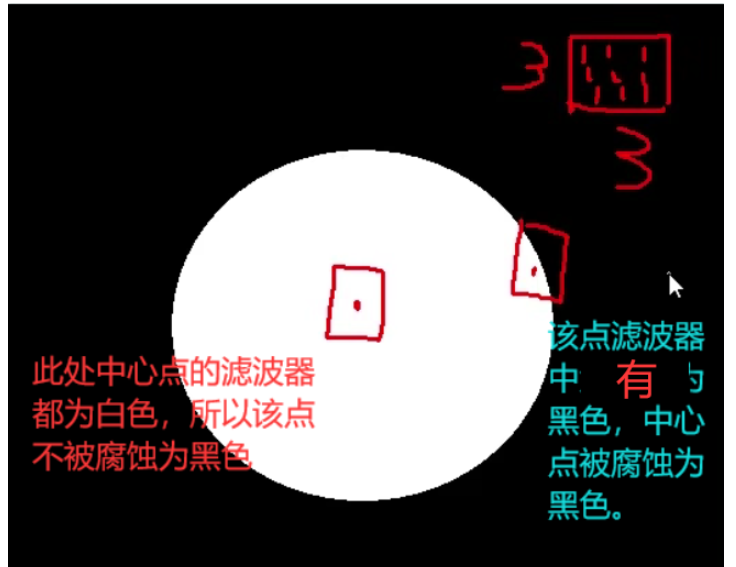
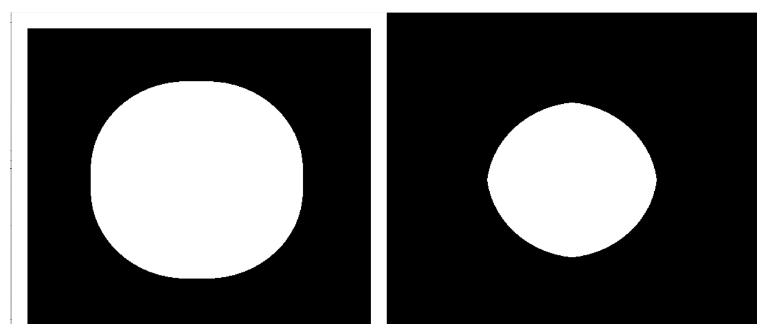
腐蚀原理, 其中滤波器的大小越大腐蚀的程度越大 图4:
kernel = np.ones((30, 30), np.uint8)
erosion_1 = cv2.erode(pie, kernel, iterations=1)
erosion_2 = cv2.erode(pie, kernel, iterations=2)
erosion_3 = cv2.erode(pie, kernel, iterations=3)
res = np.hstack((erosion_1, erosion_2, erosion_3))
cv2.imshow('res', res)
cv2.waitKey(0)
cv2.destroyAllWindows()圆腐蚀三次结果展示图5:
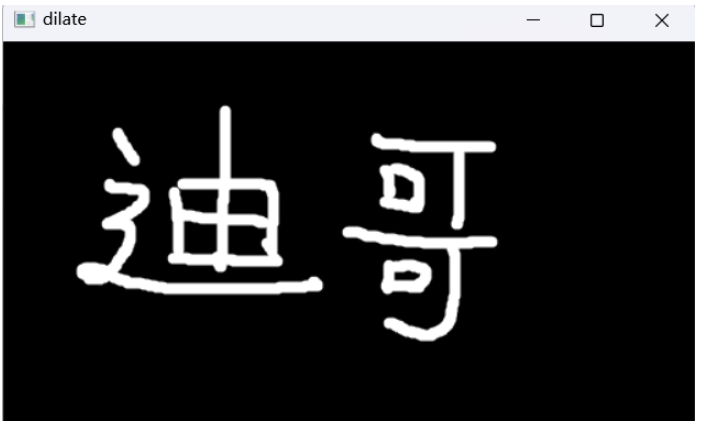
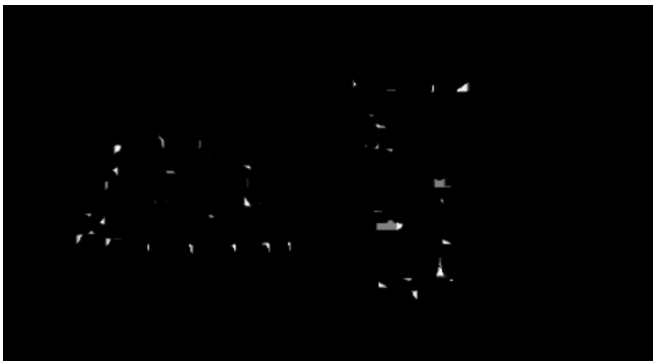
kernel = np.ones((3, 3), np.uint8)
dige_dilate = erosion
dige_dilate = cv2.dilate(erosion, kernel, iterations=1)

cv2.imshow('dilate', dige_dilate)
cv2.waitKey(0)
cv2.destroyAllWindows()膨胀之前图2,发现线条变粗,跟原图对比的线条相差无几,但是没了那些长须装的噪音,图6:
膨胀圆多次的效果,以及膨胀原理与腐蚀相反,有白色点的滤波器则滤波器内数据全变为白色。
pie = cv2.imread('DataPreprocessing/img/pie.png')

kernel = np.ones((30, 30), np.uint8)
dilate_1 = cv2.dilate(pie, kernel, iterations=1)
dilate_2 = cv2.dilate(pie, kernel, iterations=2)
dilate_3 = cv2.dilate(pie, kernel, iterations=3)
res = np.hstack((dilate_1, dilate_2, dilate_3))
cv2.imshow('res', res)
cv2.waitKey(0)
cv2.destroyAllWindows()膨胀圆3次的结果展示,图7:

# 开:先腐蚀,再膨胀
img = cv2.imread('DataPreprocessing/img/dige.png')

kernel = np.ones((5, 5), np.uint8)
opening = cv2.morphologyEx(img, cv2.MORPH_OPEN, kernel)

cv2.imshow('opening', opening)
cv2.waitKey(0)
cv2.destroyAllWindows()将原图1,先腐蚀,再膨胀,得到开运算结果图8:
# 闭:先膨胀,再腐蚀
img = cv2.imread('DataPreprocessing/img/dige.png')

kernel = np.ones((5, 5), np.uint8)
closing = cv2.morphologyEx(img, cv2.MORPH_CLOSE, kernel)

cv2.imshow('closing', closing)
cv2.waitKey(0)
cv2.destroyAllWindows()将原图1,先膨胀,再腐蚀,得到开运算结果图9:
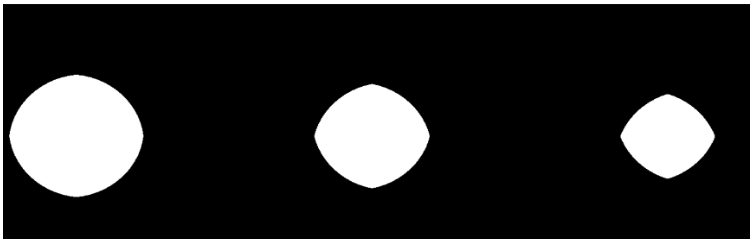
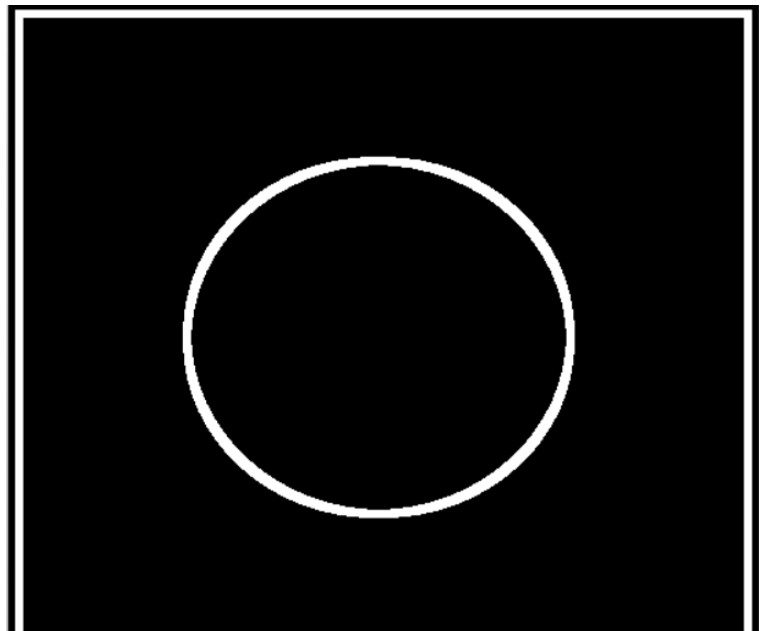
拿原图3的圆,做5次膨胀,5次腐蚀,相减得到其轮廓。
# 梯度=膨胀-腐蚀
pie = cv2.imread('DataPreprocessing/img/pie.png')
kernel = np.ones((7, 7), np.uint8)
dilate = cv2.dilate(pie, kernel, iterations=5)
erosion = cv2.erode(pie, kernel, iterations=5)

res = np.hstack((dilate, erosion))

cv2.imshow('res', res)
cv2.waitKey(0)
cv2.destroyAllWindows()

gradient = cv2.morphologyEx(pie, cv2.MORPH_GRADIENT, kernel)

cv2.imshow('gradient', gradient)
cv2.waitKey(0)
cv2.destroyAllWindows()得到梯度运算结果图10:
礼帽 = 原始输入-开运算结果
# 礼帽
img = cv2.imread('DataPreprocessing/img/dige.png')
tophat = cv2.morphologyEx(img, cv2.MORPH_TOPHAT, kernel)
cv2.imshow('tophat', tophat)
cv2.waitKey(0)
cv2.destroyAllWindows()得到礼帽结果图11:
黑帽 = 闭运算-原始输入
# 黑帽
img = cv2.imread('DataPreprocessing/img/dige.png')
blackhat = cv2.morphologyEx(img, cv2.MORPH_BLACKHAT, kernel)
cv2.imshow('blackhat ', blackhat)
cv2.waitKey(0)
cv2.destroyAllWindows()得到礼帽结果图12:
以上就是Python+OpenCV之形态学的操作方法是什么的详细内容,更多请关注php中文网其它相关文章!

python怎么学习?python怎么入门?python在哪学?python怎么学才快?不用担心,这里为大家提供了python速学教程(入门到精通),有需要的小伙伴保存下载就能学习啦!

 广告
广告
![ThinkPHP5快速开发企业站点[全程实录]](https://img.php.cn/upload/course/000/000/068/6253d918a3ce7278.png)

Copyright 2014-2025 https://www.php.cn/ All Rights Reserved | php.cn | 湘ICP备2023035733号


 211
211


