
directx 可以说是 windows 11 最重要的软件库之一。它是一系列应用程序编程接口或 api,用于处理 windows 计算机上不同类型媒体的任务。
也就是说,它提高了音视频硬件及其组件的性能。
通过充分利用图形保真度和音质,它可以极大地改善视频播放和游戏的体验。DirectX 对于从事媒体制作、视觉设计等领域的专业人士来说至关重要。
DirectX 中有许多不同种类的 API,所有这些 API 都是为了做特定的事情。尤其是 Direct3D,它是所有 DirectX API 中最重要和最受欢迎的 API 之一。它在 Windows 和 Xbox 游戏机的游戏开发中被大量使用。
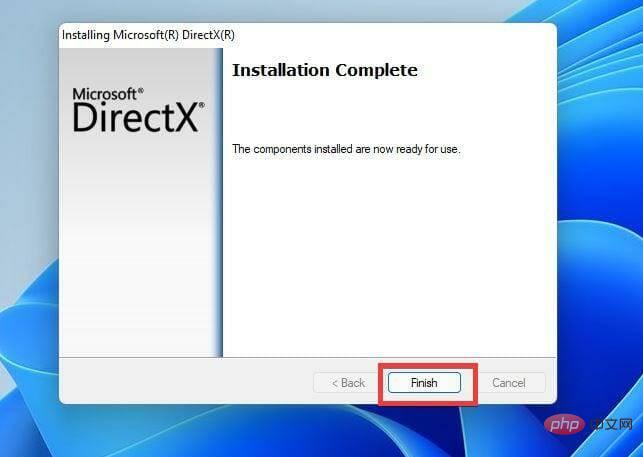
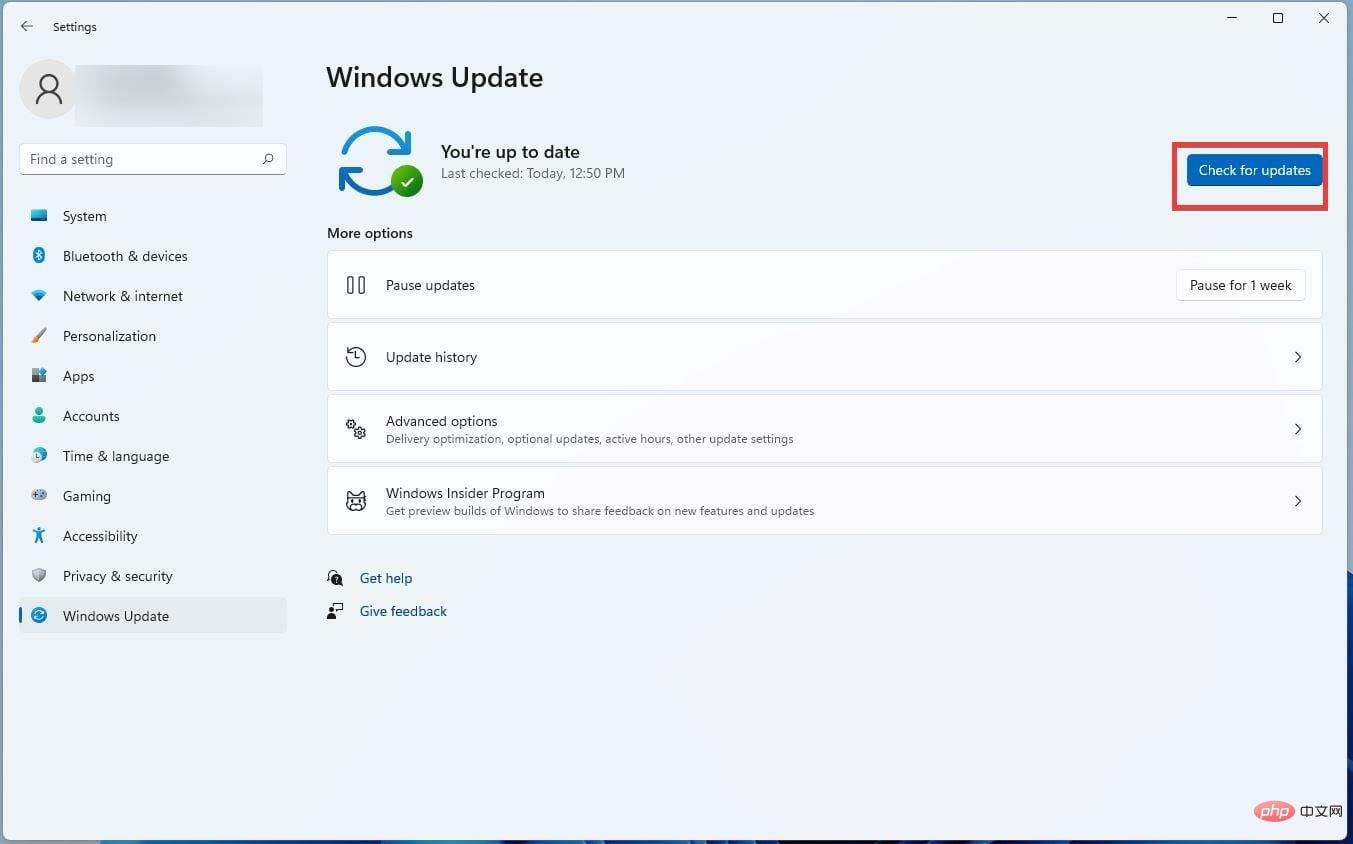
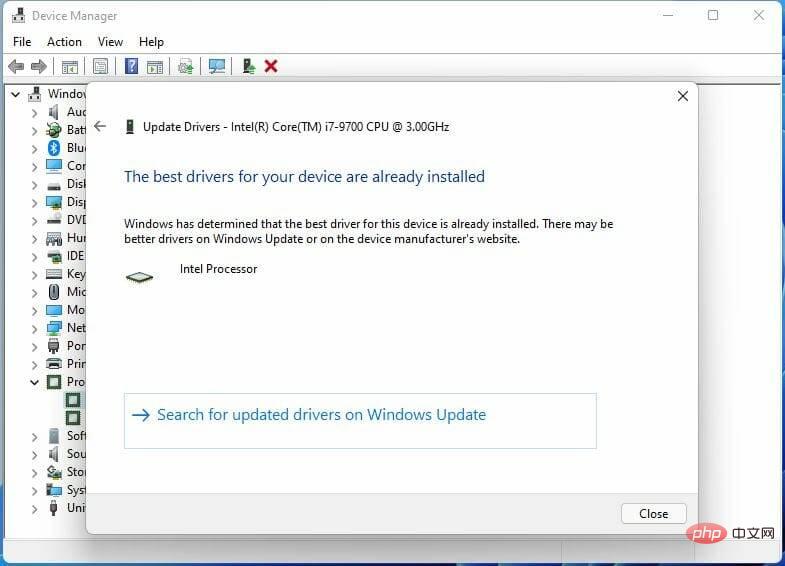
总的来说,DirectX 是自动更新的,因此很少出现任何问题,但有时您会遇到错误的奇怪时刻。有时您的驱动程序不是最新的,或者在此过程中出现故障或某些东西损坏。
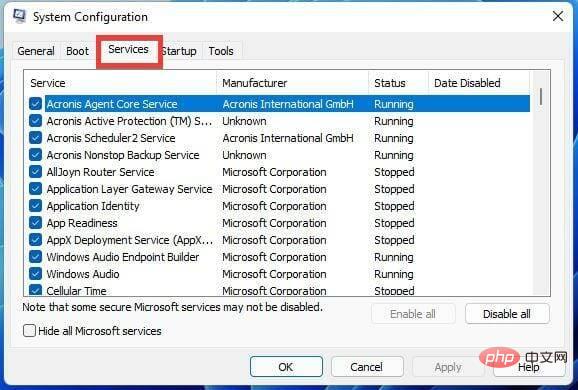
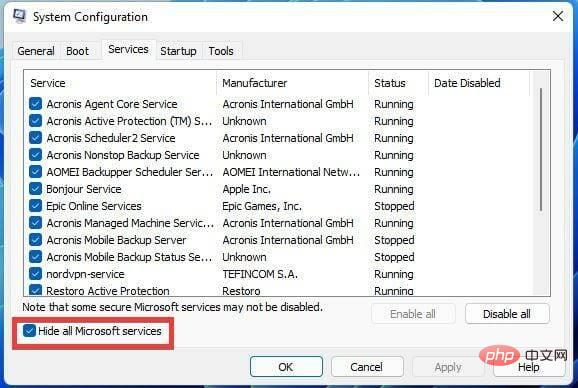
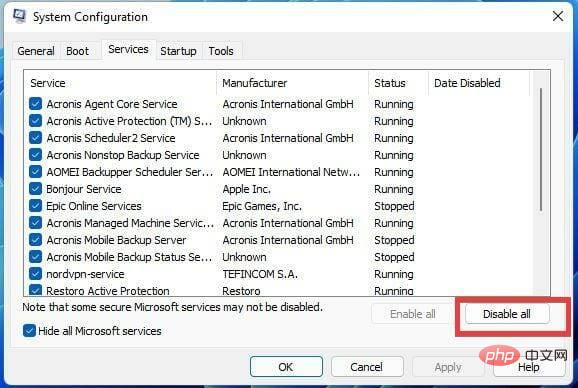
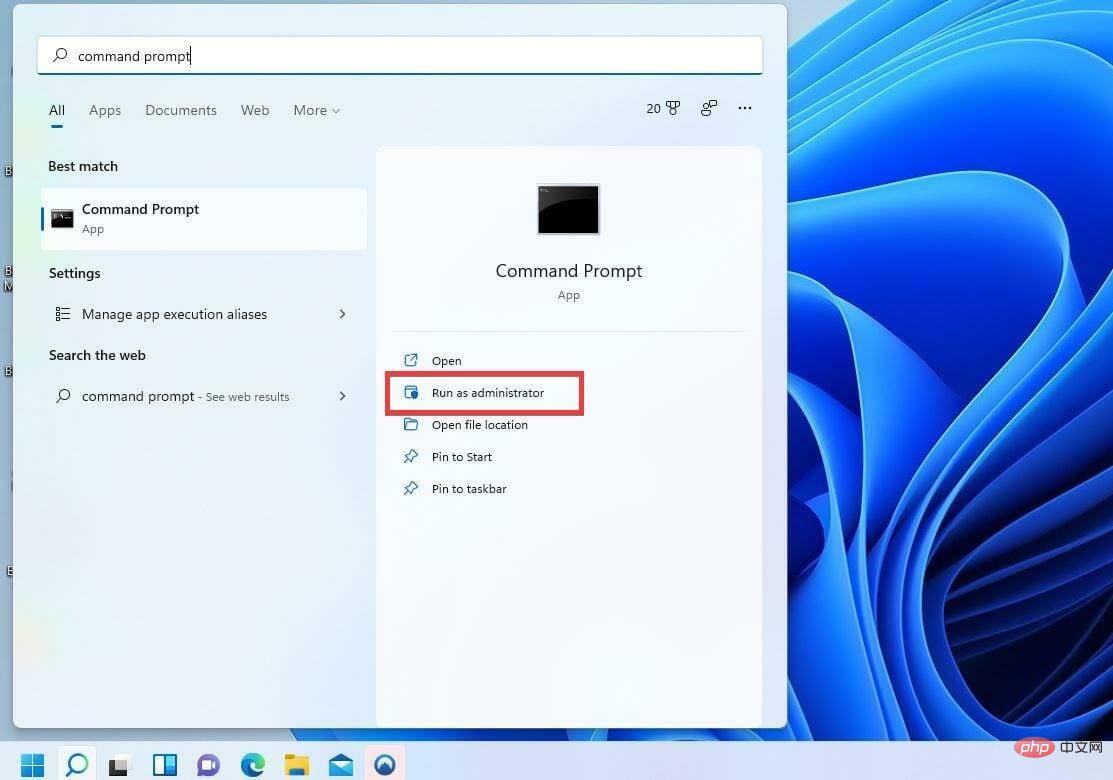
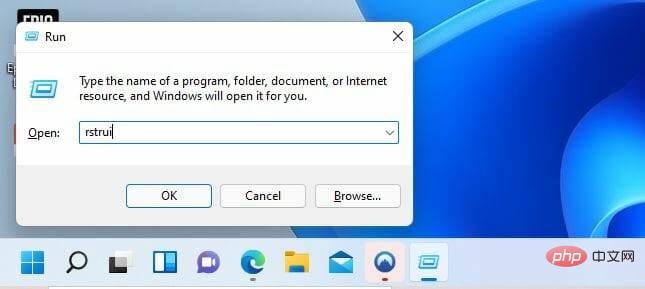
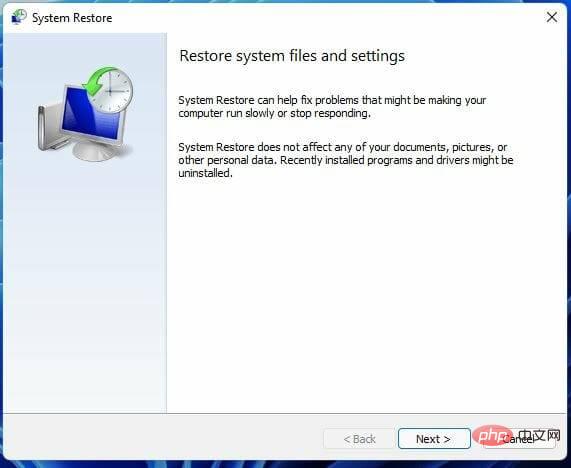
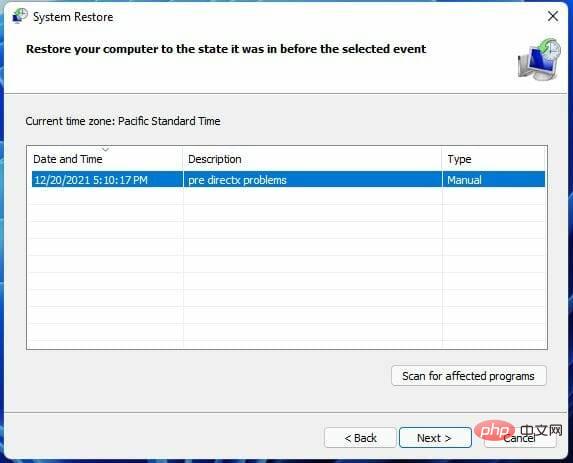
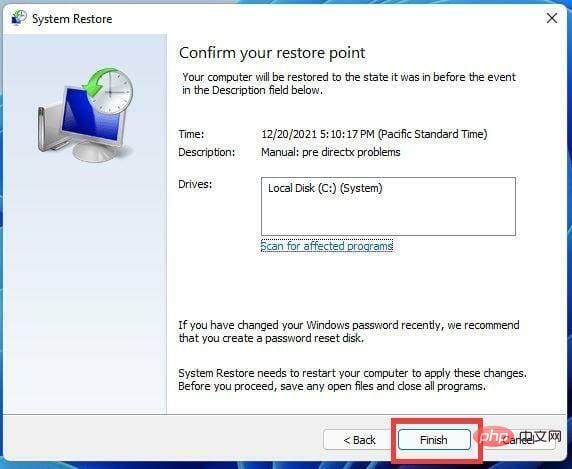
DirectX 不适合您的原因有很多。本教程将向您展示修复 DirectX 错误的多种方法,例如更新到最新版本和执行系统还原。
升级到最新版本对于解决困扰视频游戏的运行时问题很重要。

Valorant 是一款流行的免费视频游戏,许多玩家指出 DirectX 经常出现问题,即 Runtime API。由于这个问题的普遍性,指出它很重要。
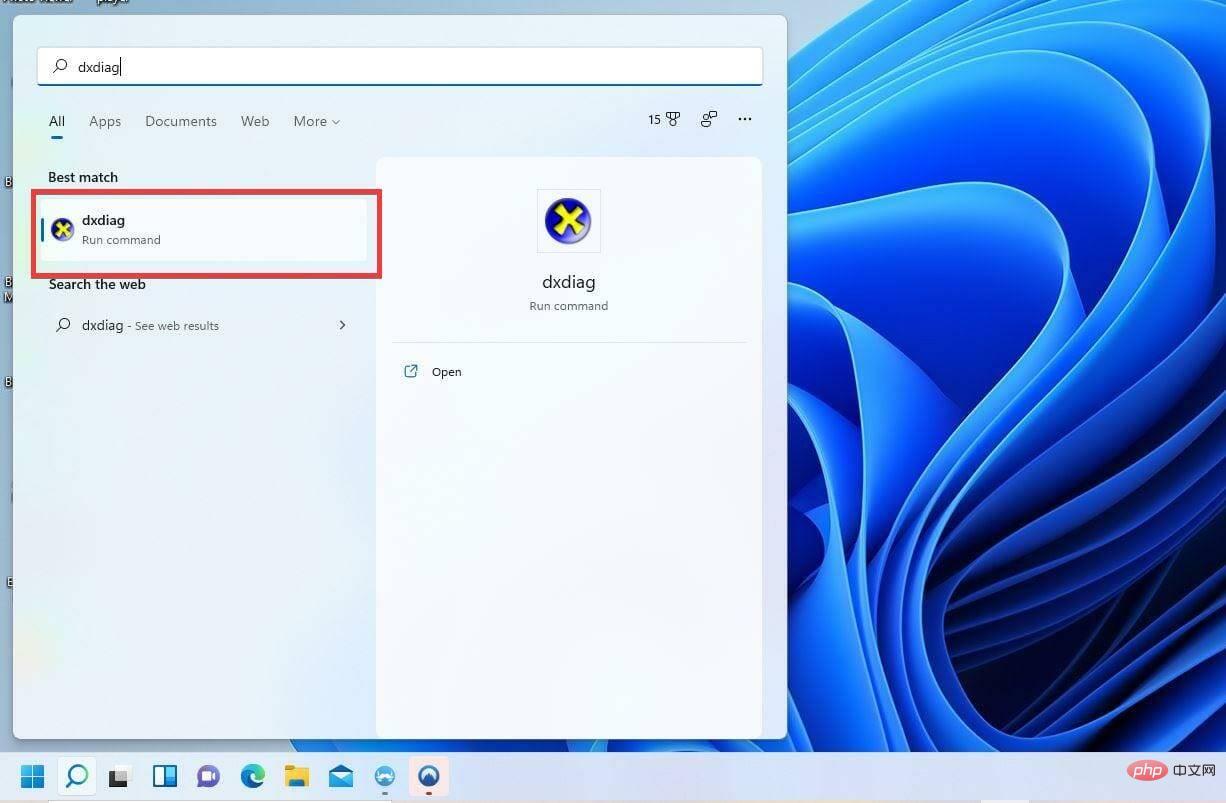
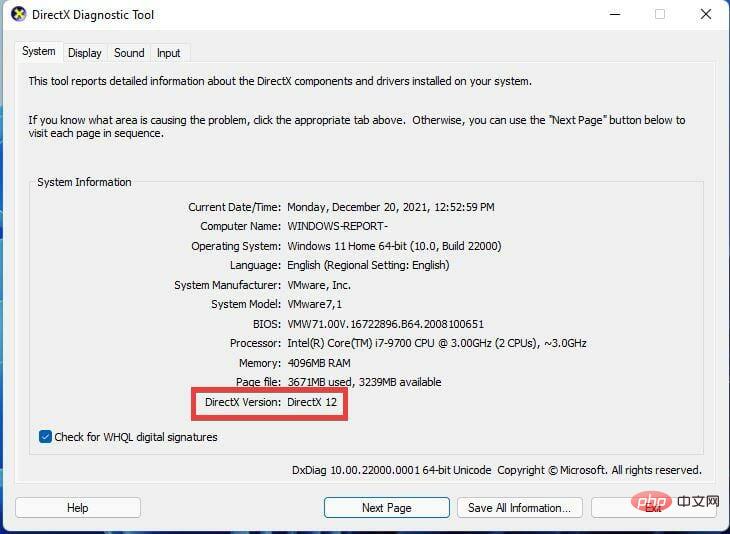
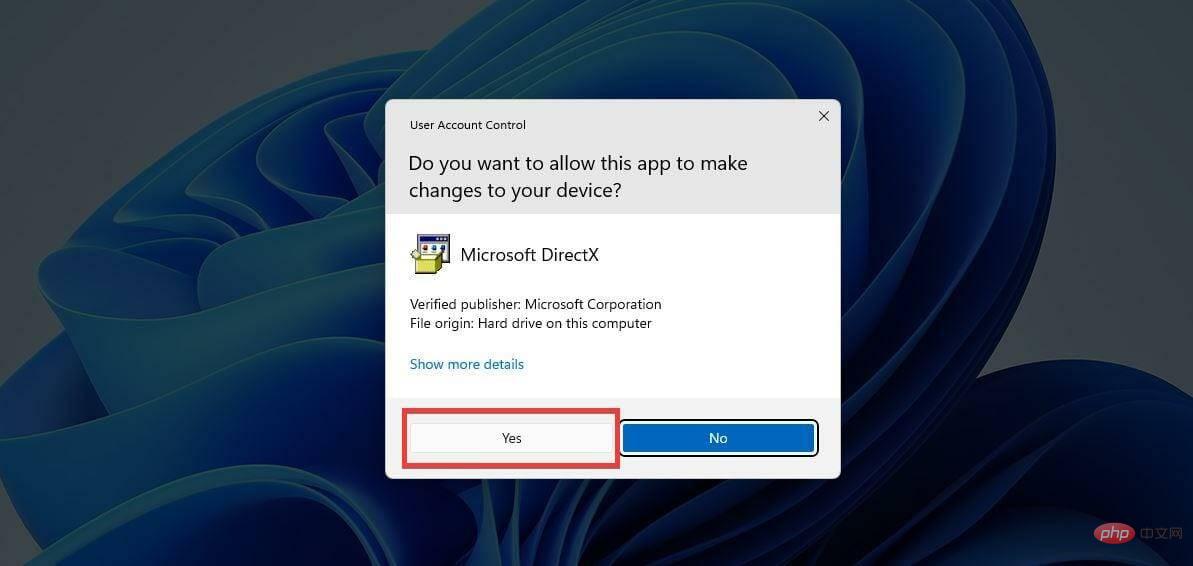
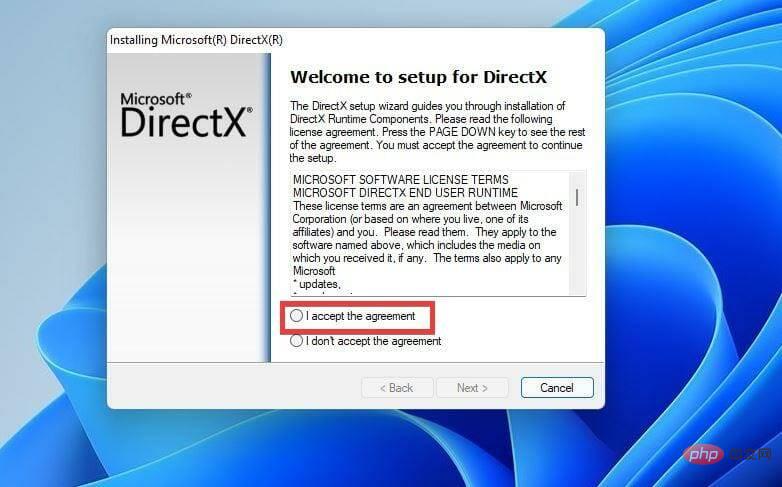
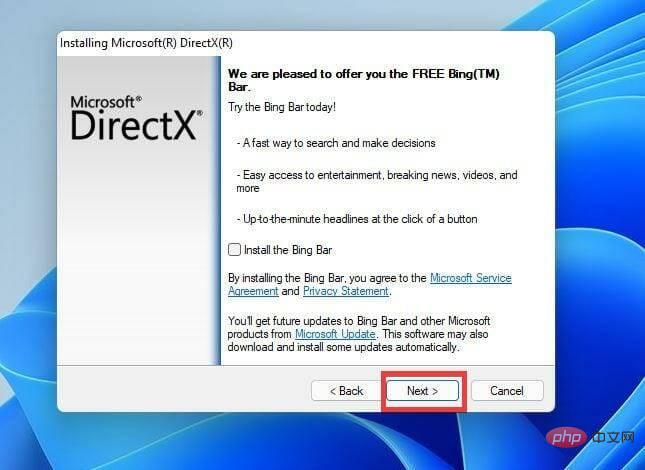
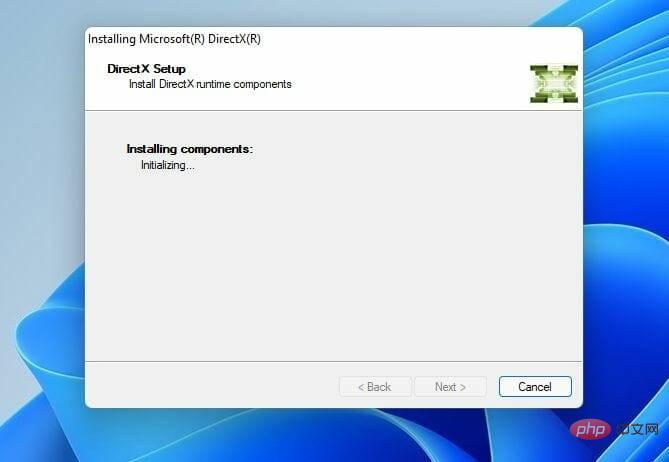
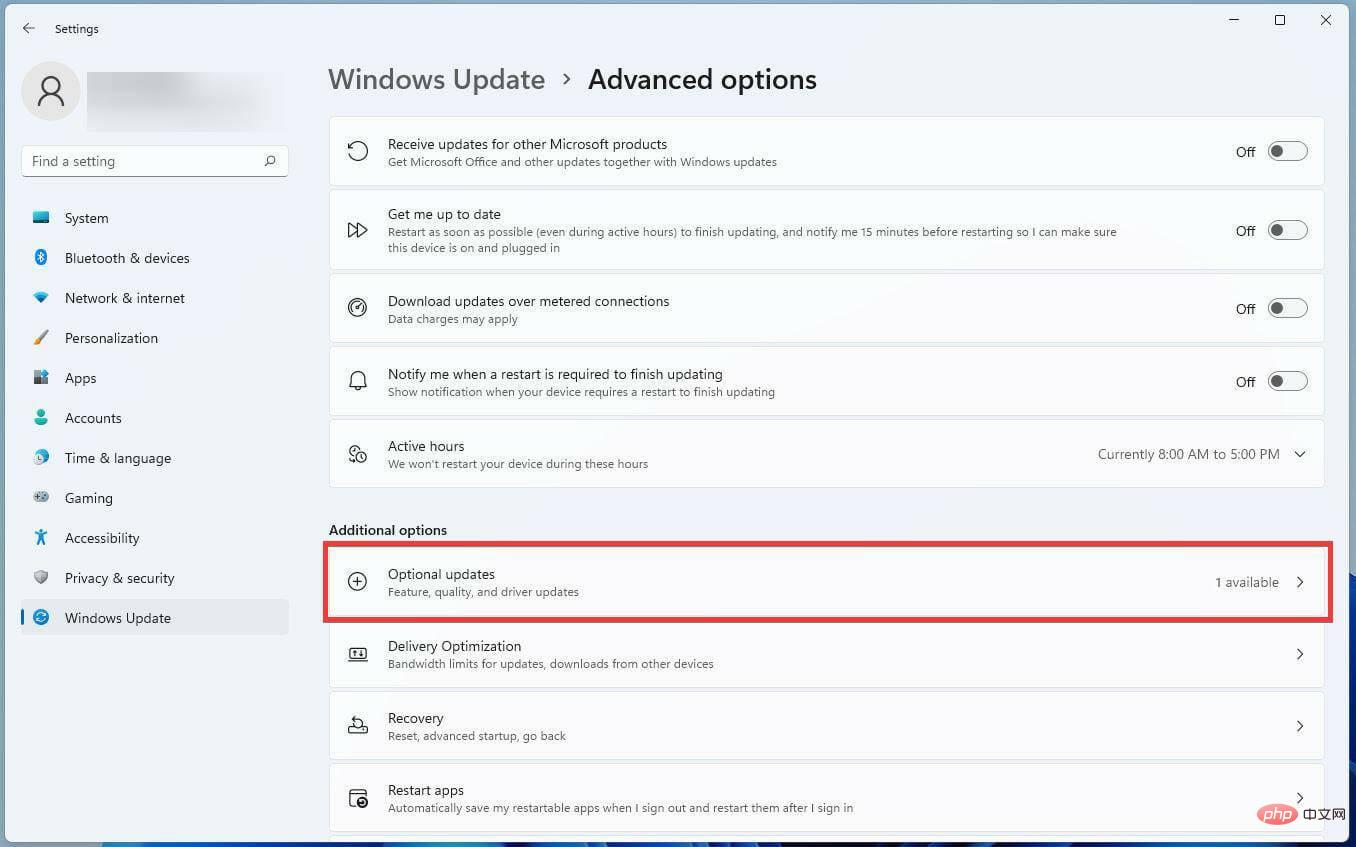
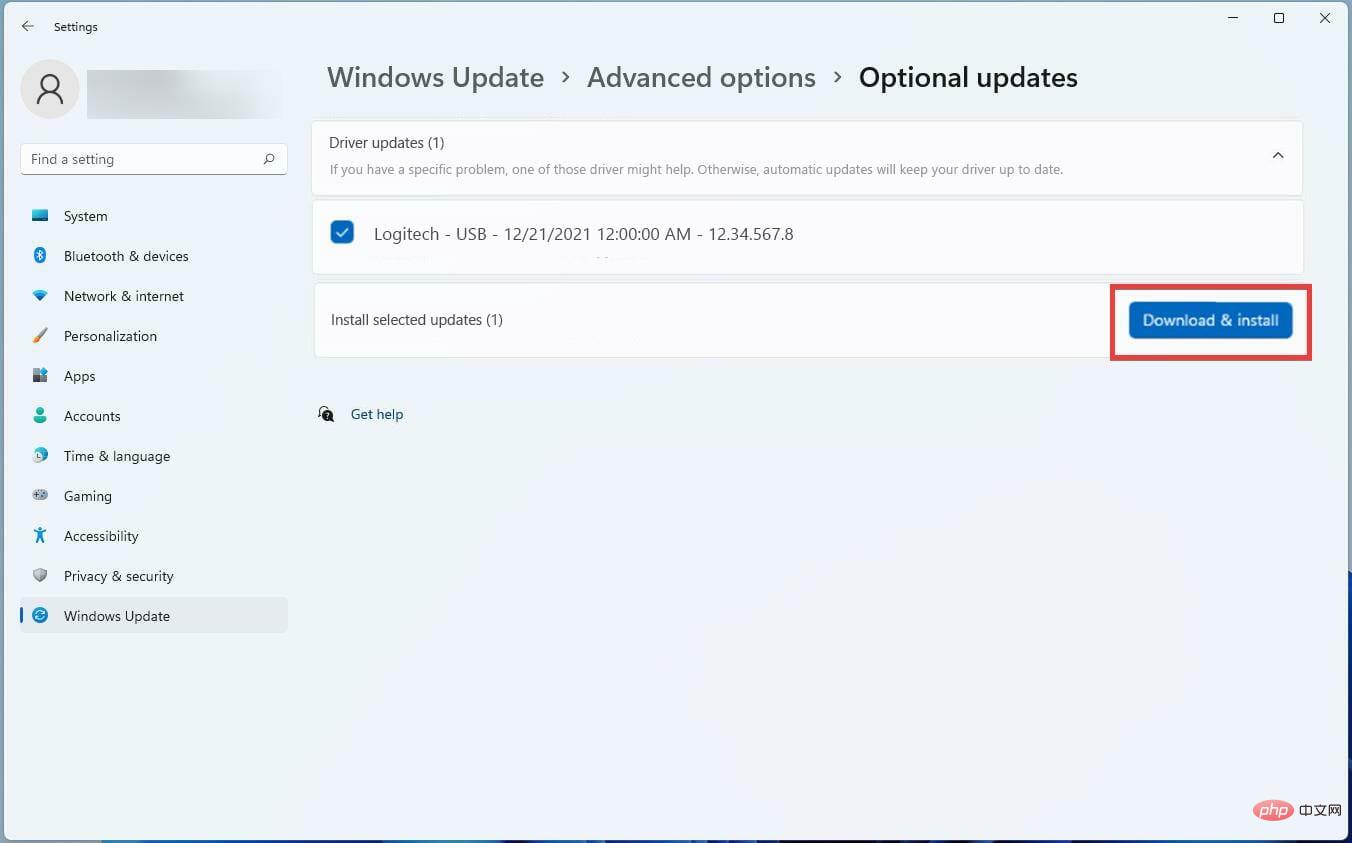
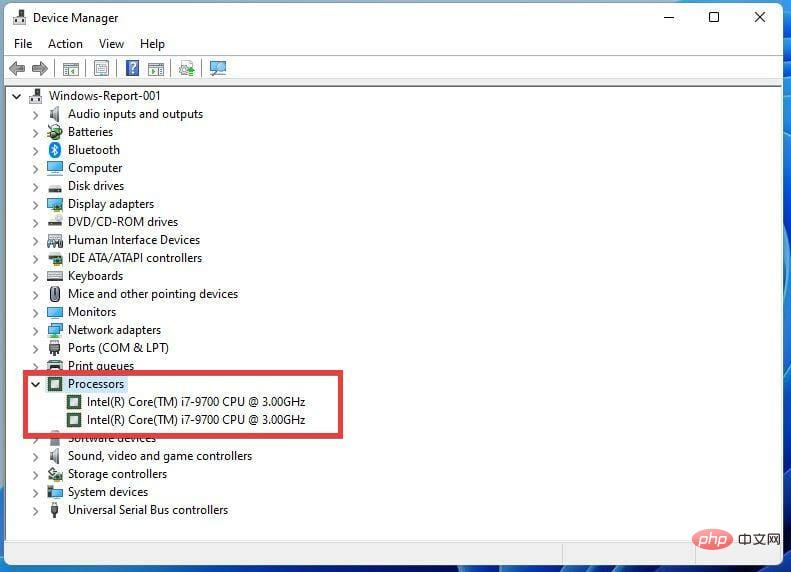
在修复 DirectX 之前,您需要检查您拥有的 DirectX 版本。在最新版本的DirectX是12,原产于许多Windows 11设备。过时的版本可能是导致您出现问题的原因。


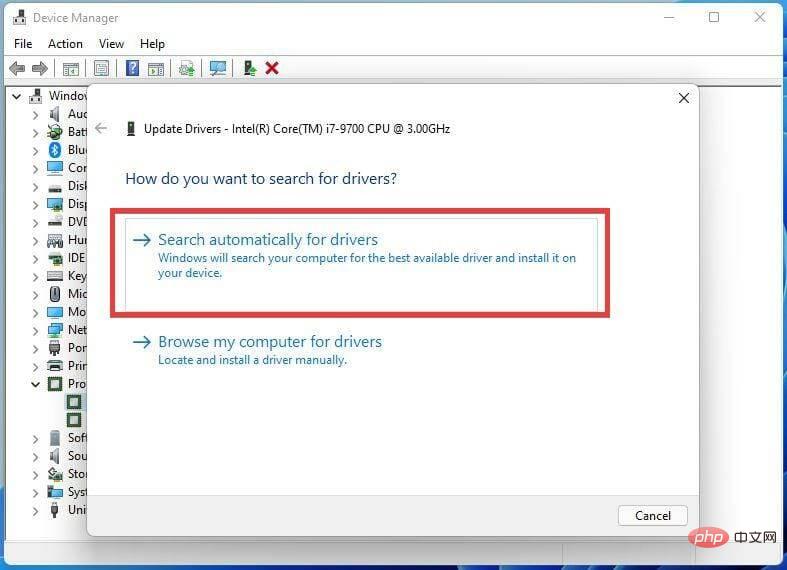
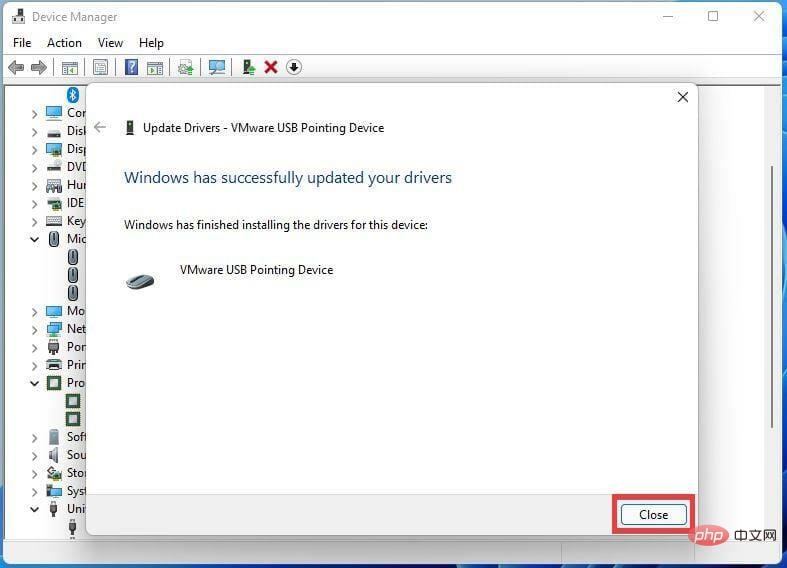
如果这不起作用,我们建议您尝试使用本站,它会扫描您的 PC 以查找丢失或过时的驱动程序,并提示您更新它们。


与任何操作系统一样,Windows 11 正在不断修复。就在最近,KB5008215 补丁出来了,它修复了文件浏览器崩溃问题、滞后问题,甚至添加了新的表情符号 Clippy。
其他一些 DirectX 错误正在困扰着一些游戏。例如,英雄联盟在 2021 年早些时候就出现了 DirectX 错误。FIFA 2021 也存在由损坏的游戏文件引起的相同问题。

确保您的 Windows 11 保持健康,没有任何损坏的文件或恶意软件会减慢一切运行速度,这一点很重要。因此,建议您下载PC Health Check来测试您的系统并确保它保持健康。
以上就是如何修复 Windows 11 上的 DirectX 错误的详细内容,更多请关注php中文网其它相关文章!

每个人都需要一台速度更快、更稳定的 PC。随着时间的推移,垃圾文件、旧注册表数据和不必要的后台进程会占用资源并降低性能。幸运的是,许多工具可以让 Windows 保持平稳运行。

 广告
广告
![ThinkPHP5快速开发企业站点[全程实录]](https://img.php.cn/upload/course/000/000/068/6253d918a3ce7278.png)

Copyright 2014-2025 https://www.php.cn/ All Rights Reserved | php.cn | 湘ICP备2023035733号


 685
685


